


Integrating Sensors and Actuators with Arduino: A Comprehensive Guide
Unveiling the Integration Process
To seamlessly integrate sensors and actuators with Arduino, adhere to these overarching steps:
- Select the Sensors and Actuators: Choose sensors and actuators based on your project’s specific requirements. Opt for input devices like buttons, distance and temperature sensors, potentiometers, and touch sensors for sensors. Actuators can include servos, relays, motors, or LED displays.
- Understand the Interface: Grasp how the chosen sensors and actuators interface with Arduino. Sensors usually provide input, while actuators receive output signals to execute a designated action.
- Write Code: Tailor code to read input from sensors and control actuators. Utilize appropriate libraries and functions to interface seamlessly with the chosen sensors and actuators.
- Connect the Hardware: Physically link sensors and actuators to the Arduino board using analog or digital pins. Ensure a proper power supply to the devices and establish correct grounding.
- Test and Iterate: Evaluate the integrated system to verify sensor accuracy and actuator response. Iterate on both code and hardware connections as needed to fine-tune the integration.
- Consider Power Requirements: Be mindful of power needs. Certain actuators, like motors, may demand external power sources and suitable driver circuits for effective Arduino integration.
By following these steps, you can adeptly integrate sensors and actuators with Arduino, paving the way for diverse interactive and responsive projects. Various sensors and actuators cater to specific project needs, including temperature sensors, light sensors, distance sensors, motion sensors, and humidity sensors.
Exploring Sensor and Actuator Options
Sensors:
- Temperature Sensors: Measure temperature for applications such as climate control, temperature monitoring, and thermal management.
- Light Sensors: Detect light levels for applications like automatic lighting control, light intensity measurement, and color sensing.
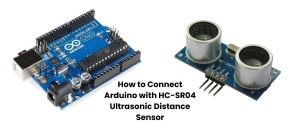
- Distance Sensors: Measure distance for applications such as obstacle detection, proximity sensing, and robotics.
- Motion Sensors: Detect motion for applications such as security systems, automatic doors, and motion-controlled lighting.
- Humidity Sensors: Measure humidity levels for applications such as climate control, moisture detection, and environmental monitoring.
Actuators:
- LEDs: Simple output devices for visual feedback, status indicators, and lighting control.
- Motors: Commonly used for robotics, automation, and motion control.
- Servos: Motors with built-in control circuitry, ideal for precise control of position and speed. Used in applications like robotics, automation, and motion control.
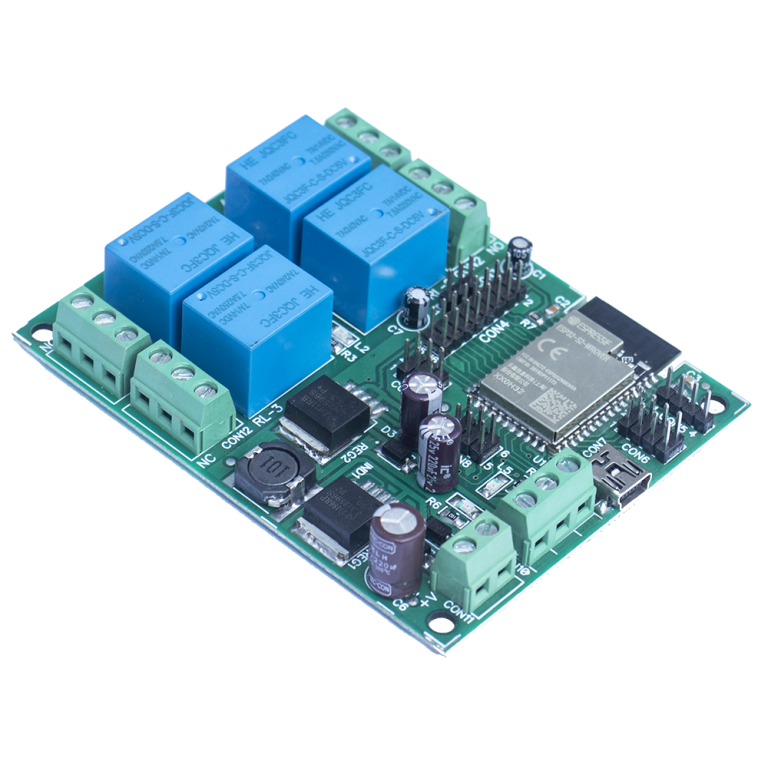
- Relays: Switches used to control high-power devices such as motors, lights, and heaters.
These are just a glimpse of the myriad sensors and actuators compatible with Arduino. The selection depends on the unique requirements of each project.
You may also like:
How can Arduino be used for data acquisition and control systems ?
Ultrasonic sensor HC-SR04 with Arduino.
Motion Sensors: A Comprehensive Guide.
4 Channel WiFi Relay Board : AM-36-4R-WiFi.