


Troubleshooting Common Issues with Arduino Boards: A Comprehensive Guide
How to Troubleshoot Arduino Boards: A Step-by-Step Guide
1. Check Hardware Connections
- Ensure all connections are secure with no open or short circuits.
- Use digital inputs for sensors with digital output and analog inputs for those with variable voltage.
- Verify power indicator lights are on, and inspect for hot components or unusual smells.
2. Verify Power Supply
- Confirm the Arduino board has sufficient power reaching the right components.
- If external components are malfunctioning, attempt independent power using a battery or an external power supply.
3. Address Software Issues
- Verify code syntax, as missing semicolons can be a common issue.
- Confirm correct driver installations for the board.
- Ensure accurate board and serial port selections in the Arduino software.
4. Identify and Fix Common Problems
- Understand common issues like power supply problems, connection issues, and hardware failures.
- Diagnose problems by comprehending the basic components and functions of the board.
5. Atmega IC Faulty Issue
- Visually inspect the board for damage to the Atmega IC microcontroller chip.
- Confirm the proper driver setup and test the board on another computer to rule out hardware or driver issues.
By following these troubleshooting steps, you can effectively address common issues with Arduino boards and ensure the seamless operation of your projects.
How to Test if an Arduino Board is Working Properly
1. Power Indicator Check
- Plug the board into a USB port and ensure the green LED power indicator illuminates.
- Look for the flashing orange LED, indicating the board is operational.
2. Blink Test
- Use the indicator light on your Arduino board and the blink test to assess functionality.
- The built-in LED should light up when powered via USB and a computer.
3. Loopback Test
- Disconnect the board and remove any shields or connections to perform a loopback test.
- Identify communication issues with the board during this test.
4. Visual Inspection
- Visually inspect the board for damage, especially on the Atmega IC microcontroller chip.
- Identify any physical issues affecting the board’s performance.
5. Driver and Software Check
- Confirm correct drivers and board selections in the Arduino software.
- Restart the Arduino IDE and the computer, exploring different USB ports and computers if needed.
By following these steps, you can effectively test an Arduino board’s functionality and troubleshoot any issues that may arise.
You may also like:
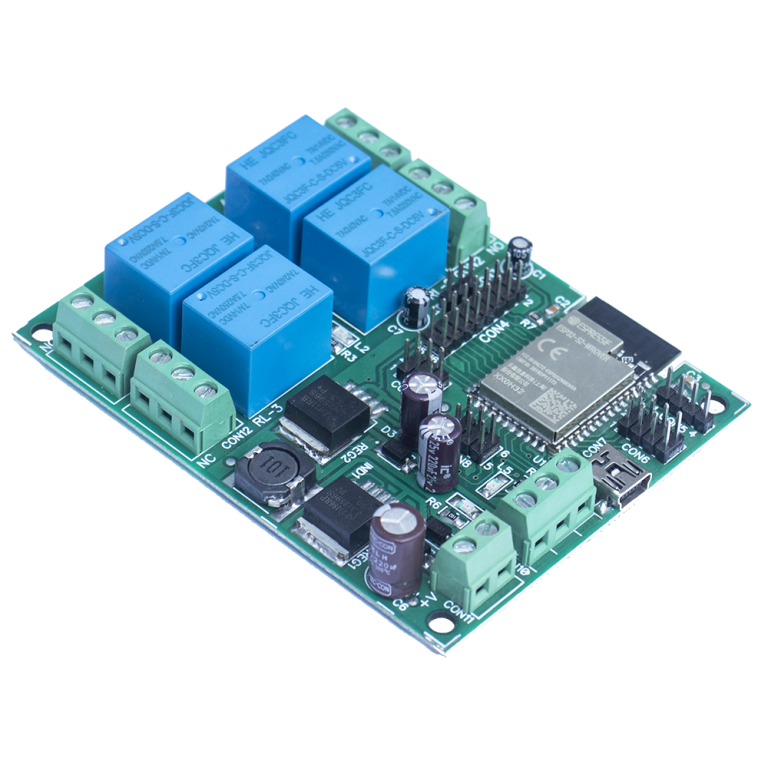
AM-36-4R-WiFi Relay Board Getting Started: A Comprehensive Guide to Set Up.
AM-36-8R-WiFi Relay Board Getting Started: A Comprehensive Guide to Set Up.
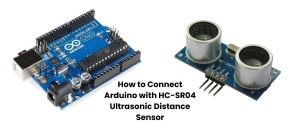
Pressure sensor BMP-280 with Arduino.